How to Clean Pines Cones for Crafting
A super-easy way to clean pine cones for all your crafting projects! I love bringing natural elements into my Fall, Winter, and Christmas 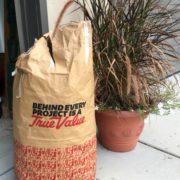 projects by using pines. If you’re like me, you look for ways to keep the costs of my supplies down. Over the years I have gathered pine cones from some of the parks that I live near. This year, however, a friend of mine gave me a HUGE bag that her father collected on his property in Ohio! What on earth am I going to do with all these – lol!
Before using fresh pine cones, I take the time to prepare them because there can be sap and bugs inside them… We don’t want anything to come crawling out do we now – lol.
This post contains some affiliate links for your convenience
Be sure that you take the time to pull out the pine needles that can be caught between the cone layer. Putting those into an oven could be potentially dangerous.
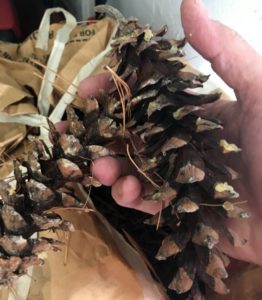
Next preheat your oven to 200 degrees. Place a sheet of aluminum foil down on a cookie sheet and put just one layer of pine cones on it. This way the sap will drip on the foil and not other pine cones.
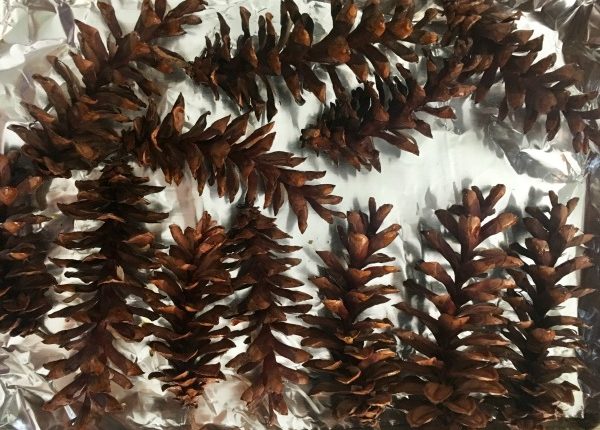
I put in the oven several cookie sheets. These are larger pine cones and I didn’t want to spend all day cleaning pine cones. Place these in the preheated oven for 1-2 hours. You might have to do this a second time if all the sap doesn’t melt off. I changed out the foil and put them back in for another hour. I don’t recommend turning up the oven because they will brown and burn. I learned the hard way – lol.
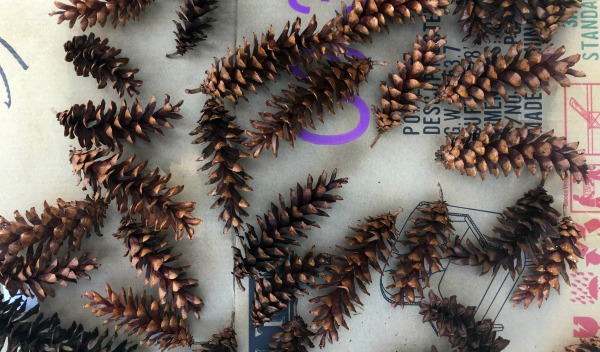
After removing them from the oven, let them cool on newspaper or cardboard. Once they’re cool, spray them with a Krylon Matte finish to help preserve them. I do them in batches and store them for future use. I don’t think I will be needing any for a while.
How I have used them is by adding mod podge to the edges of them and sprinkled with snow glitter. Here is a wreath I added the pine cones to

Do you have any tips for using pine cones? If so please leave them in the comments below;
In Joy!


